
Helping people to learn how to crochet is our passion! This blog is focused on learning how to crochet a slip stitch and then fasten off.
A slip stitch is used in most crochet patterns so it's an important basic stitch to learn for beginners. It's used for:
- joining crochet chains and rounds
- gives a neat edge to finished projects
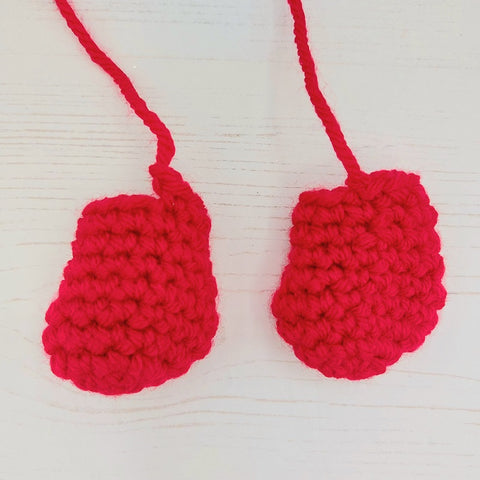
The image below shows how the crochet piece on the right is finished with a slip stitch so has a much neater edge than the one on the left without a SS.
And learning how to fasten off correctly will avoid your project unravelling and losing all your hard work. It's a much neater way to finish off your work as if you just cut the yarn and fasten off it will leave a little ridge/step in your work..
So, let's get into learning how to SS and FO ( the abbreviated way to write Slip Stich and Fasten Off in crochet patterns).
Watch Crochet Tutorial - How to Slip Stitch and Fasten Off
This Video Tutorial is part of a 'Learn to Crochet' series from Wee Woolly Wonderfuls, showing different stitches in UK Crochet terms. Please watch and follow the video to learn with pictures, but you can also follow the written instructions that have been transcribed below the video.
Just go at your own pace and you'll be crocheting in no time.
Written Instructions - How to do the Slip Stitch and Fasten Off
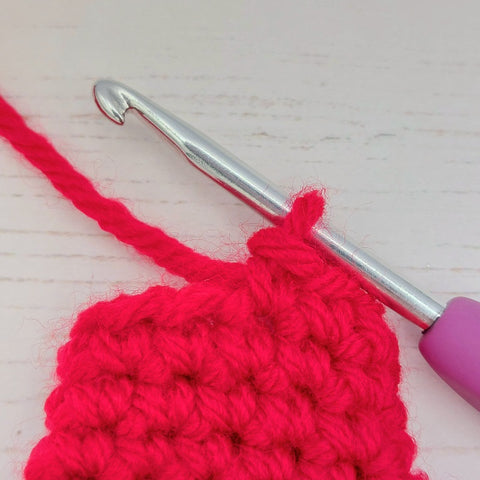
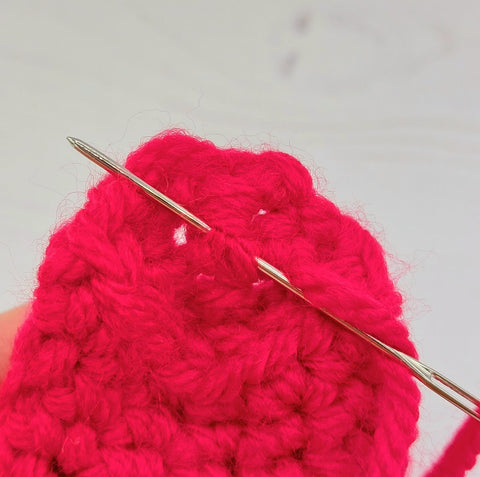
1. Starting with your magic circle, or whatever crochet project you're working on, go into the next stitch under both sides of the V. Grab the yarn and pull it through.
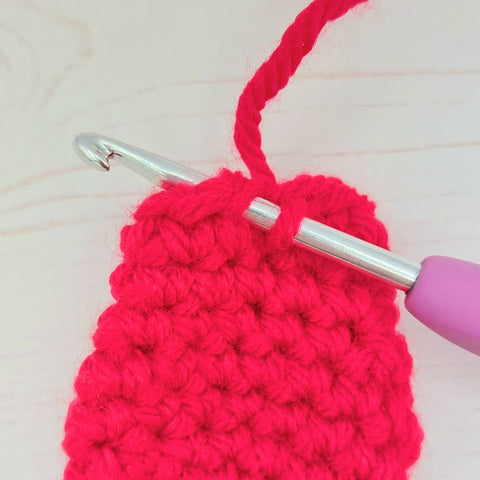
2. Then pull it the loop bigger and take it off the hook.

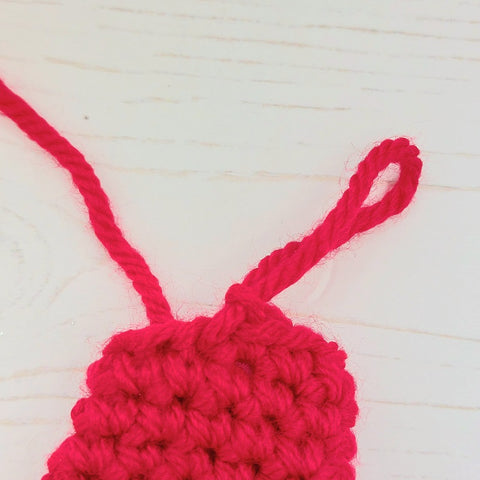

3. Cut. (If you are going to be using the thread to sew a limb on, or it was the end of an arm you’re finishing, you would leave a length, maybe about 30 centimeters and, in that way, we can use that strand of yarn to do our sewing up.)

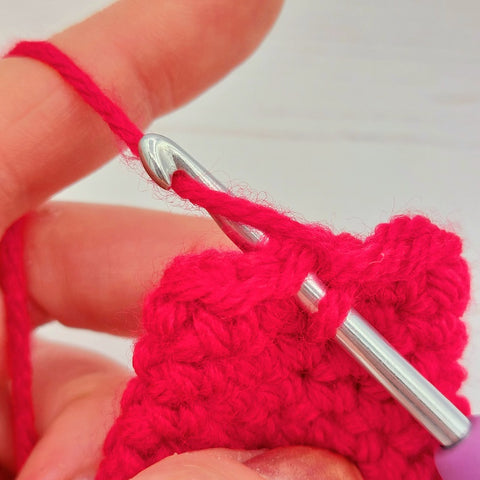
4. Put the end that we cut through the loop and pull it.

5. As you'll see, it's a much more rounded effect. If we'd have just literally cut our yarn and put it through without doing the slip stitch, we would have had a sharp step. But, as it is, that's much neater and it's a good way of finishing off all sorts of body parts for our Wee Woollies amigurumi characters.

There you have the basic instructions for a SS and FO. You may need to practice a few times to get it right, but you'll soon get the hang of it.
Learn How to Crochet with Wee Woolly Wonderfuls
We have more blogs to help beginners to learn how to crochet. Keep reading for details of lots more resources to help you both learn and get support.
See all Learn How to Crochet Articles
You can also find more crochet tutorials on the WWW You Tube Channel.
Download our Free PDF Guide - Ten Crochet Tips and Tricks for Beginners
Crochet Kits for Beginners
Learn how to do amigurumi crochet with our Complete Crochet Kits for Beginners. Each kit contains everything you need to make your first ever crochet project including yarn, stuffing, crochet hooks and more. Each kit also has clear instructions, a pattern and step by step video crochet tutorials to take you through the whole process painlessly.
Get Crochet Help, Support & Community!